


.
MJK VH R/T Charger
by Phil Wicks
The VH series Valiants were introduced to Australia in 1971 and from the start were firm favourites with the vehicle buying public. Models released were the Charger, Charger XL, Charger 770 and the R/T (Road/Track) Charger. Depending on the engine variant power ranged from 100 kW for the 3.5 litre Charger through to 205 kW for the 5.6 litre V8. The R/T range varied from 210 kW to the top of the heap R/T E49 with an output of 225 kW.

So this is what makes it a ‘must have’ for most petrol heads in the antipodes, and even as Valiant struggled to produce a more iconic car in future years, this one has left its mark on more than one generation. And it’s probably with this in mind that local slotrace suppliers MJK have chosen this as one of their model must haves.
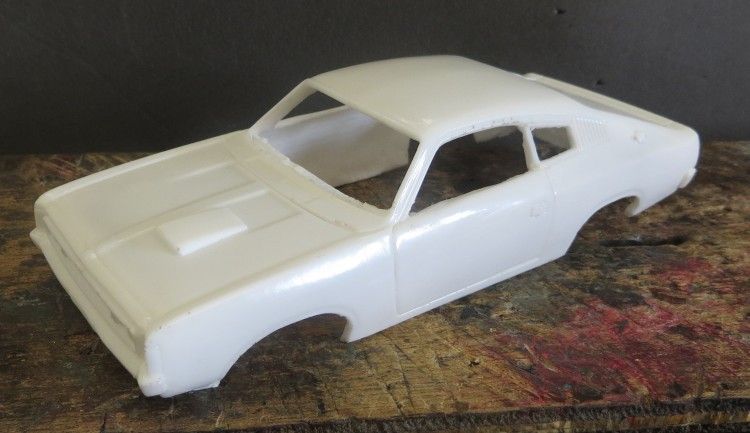
Ian and the boys have produced another body which is not so much a show pony but more a serious slot racing model. The body itself weighs in at the low twenties and trims up nicely for a plastic body. The body as yet is unavailable as a spare part but for very a reasonable outlay you can get yourself the full kit with running gear included, featuring one of MJK’s excellent chassis.
My task was to make sure the body material was workable and that good results could be obtained as part of the QA process to ensure the product is up to scratch. I decided to mount it on one of my own chassis to get it into working condition and as mentioned previously, the new range of lightweight plastic bodies are ideal for the hobby.
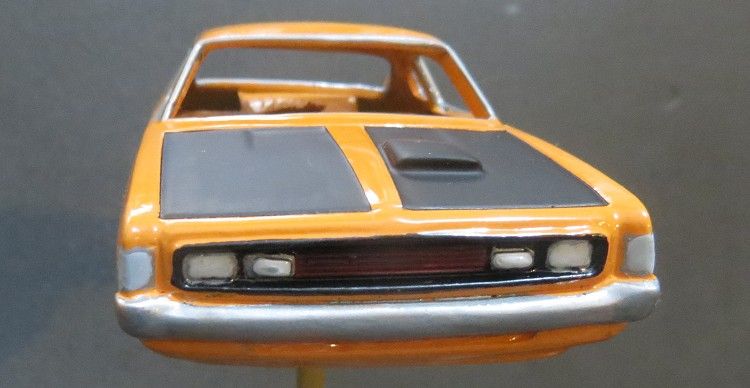
The body has been prepared in the normal way; there were a few small pinholes which were easy enough to fill and the body trimmed up well around the base and in the wheel arches. Moulding detail is good and things like lights and bumpers looked good after painting.
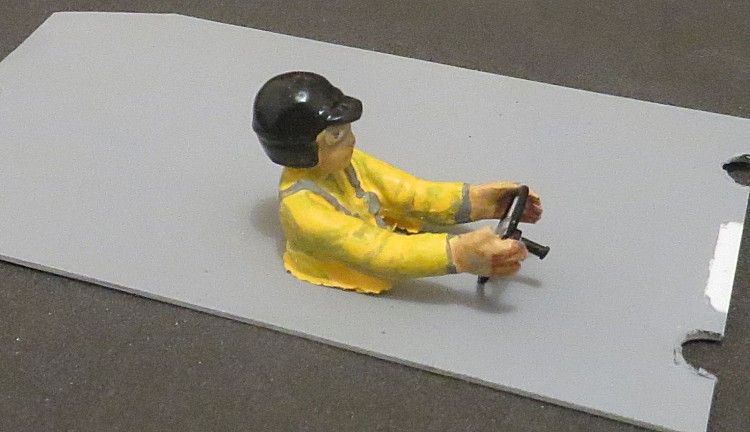
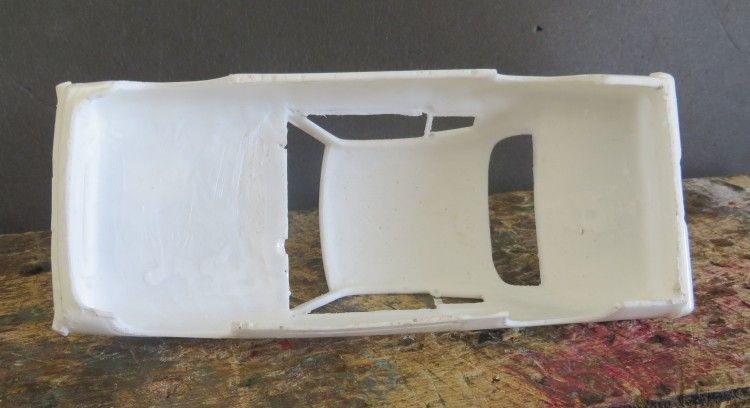
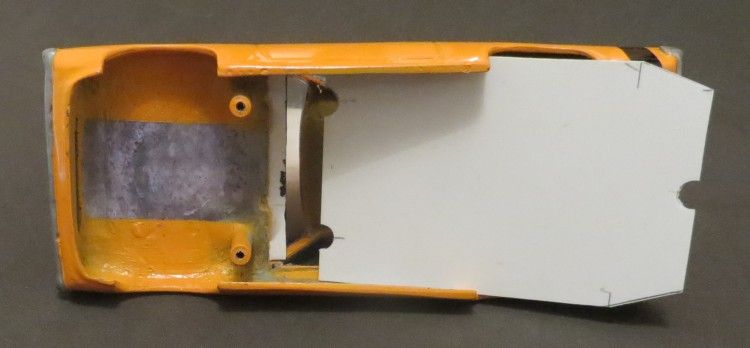
As this model is an out and out racer I decided not to spend too much time on the lesser detail. The kit will come with vacuum formed driver’s tray and window detail; currently these are still being developed so I made a plain drivers tray and made the widows from clear sheet (see Ford Anglia review). The driver’s tray was designed to slide in via the front wheel arches and it locates comfortably around the three body mounting posts, so there is no need to fix it as the chassis achieves this once in place.
I have recently switched from using Tamiya acrylic paints to using Tamiya enamels. I have done this as there has been less problems with interaction with paint, decals and clear coats. Enamels are more resilient to bumps and knock whereas acrylics tend to chip more easily, so all my current builds have been in enamel. Also, the vast majority of enamel colours can be bought in aerosol packs whereas acrylics require a spray gun and compressor!
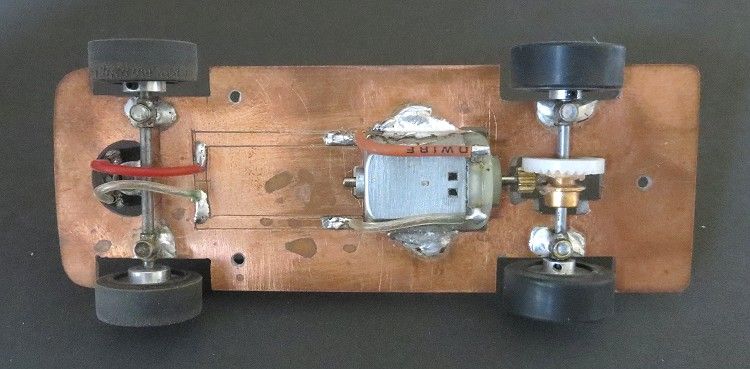
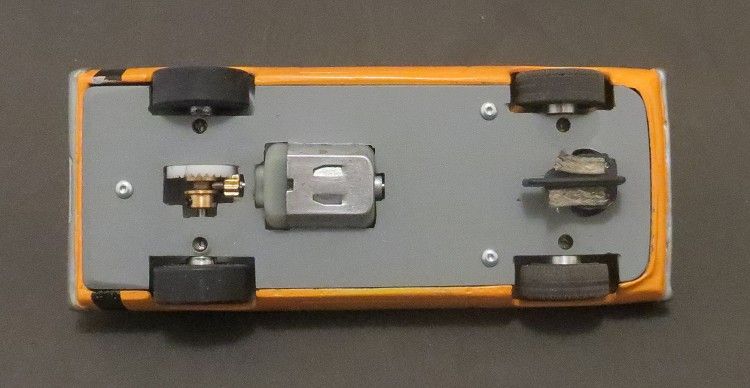
The chassis is the old faithful wixwacing chassis as used in many models. Motor, axles and guide tubes are all soldered into position. Minimal solder is used on the motor in case of the unlikely event that it has to come out again at sometime in the future. I have etched a pair of conductor strips in the chassis to simplify the running platform and leaving the inside of the model tidy and less fussy. The guide is a Ninco sports guide with the spring removed; these guides are a little deeper than the run of the mill offerings. Gears are Slot.it and tyres are MJK Urethane
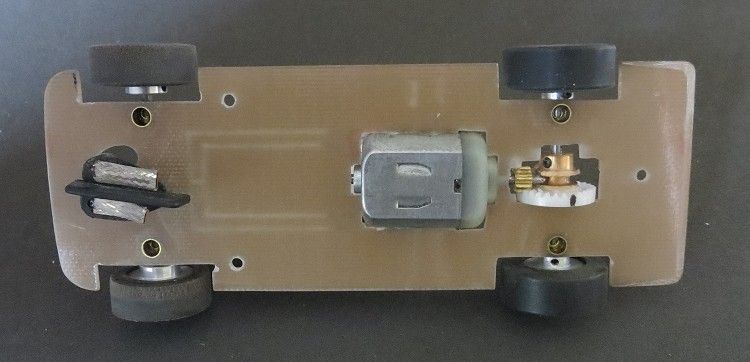
Chassis underside
Chassis top side.
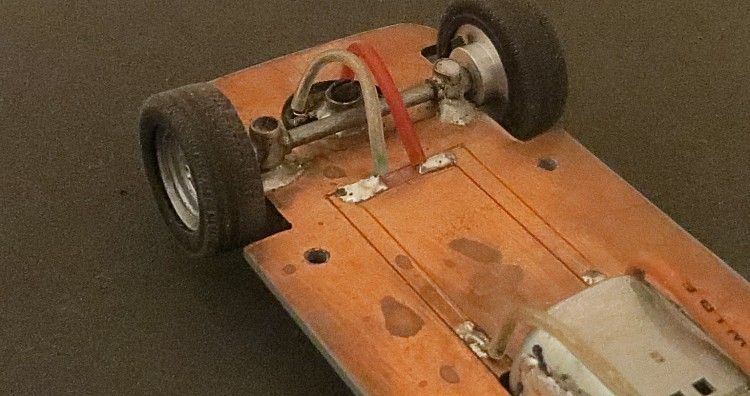
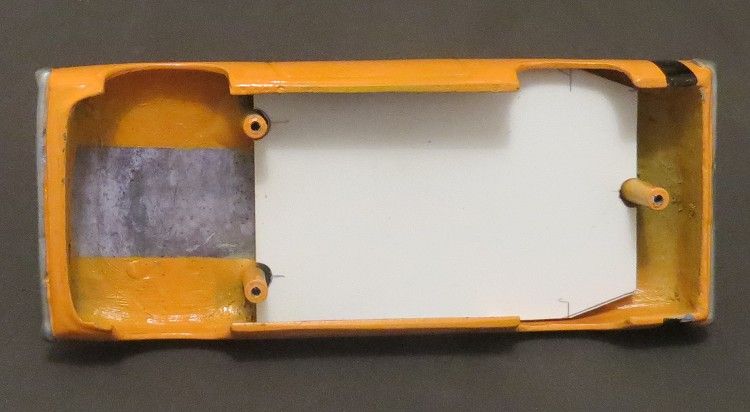
Etched conductor strips
The body was firstly primed and all the blemishes repaired and re-touched in. The base coat was flat yellow enamel, this will help the top coat cover in one coat, yellow being notoriously translucent. The base coat was also rubbed down with some coarse linen to remove any nibs or rough patches which will show through the gloss coat. When happy with the base coat, one medium coat of yellow was applied and after spraying was rotated for a couple of minutes to avoid runs.
I left the body for a coupe of days for the colour coat to cure and harden as the weather locally has cooled considerably. Once happy with the finger nail test on a hidden part of the model I applied the first coat of clear, this is Tamiya clear enamel from a spray can. The model was placed under a 100w lamp to warm up and the paint was shaken vigourously for two minutes, then left to warm in a container of hot water. Spraying was carried out at a distance of about 250 m.m. and care was taken to do all the hard spots first before the open panel work. Once again, the model was rotated under the lamp for a couple of minutes to reduce the risk of runs and to help it set more readily.
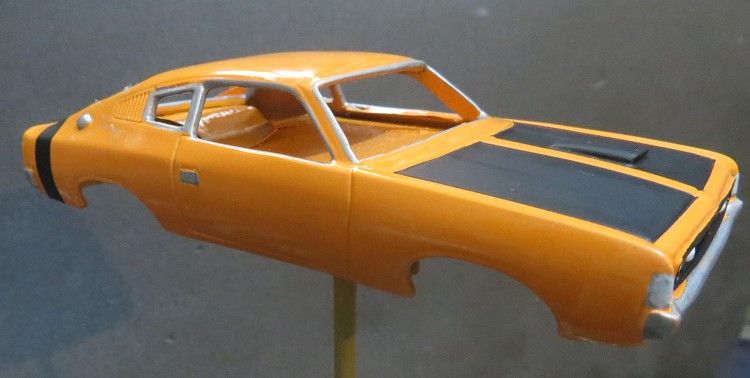
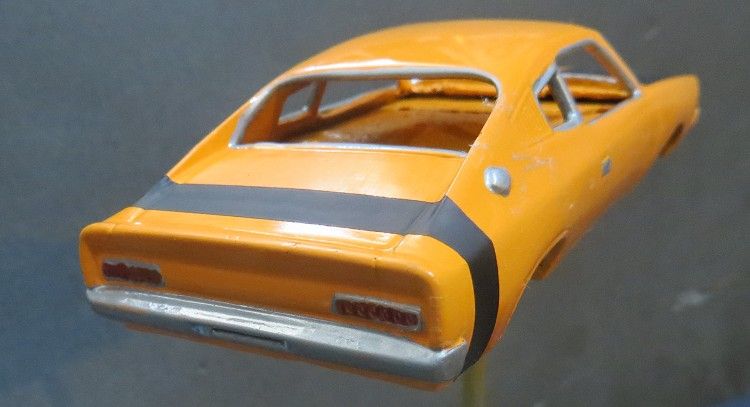
After the first coat of clear gloss the black parts were applied. This required some masking skill and once completed, a second coat of clear was applied. Finally the bumper, grille and light detail was applied, this then also received a coat of clear and again left to cure overnight.
I haven’t gone overboard with the finish of this model as it is bound for the track and no doubt in a short space of time will have picked up plenty of wounds from competition. But for the more patient modeler it is a simple task to download some good pictures from Google images and in no time at all, complete the detail to make this model a tip top-shelf queen.
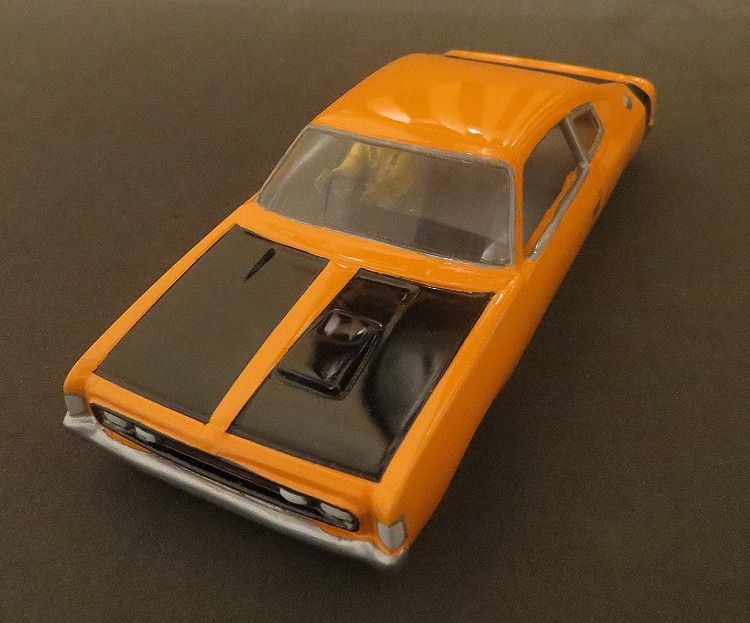
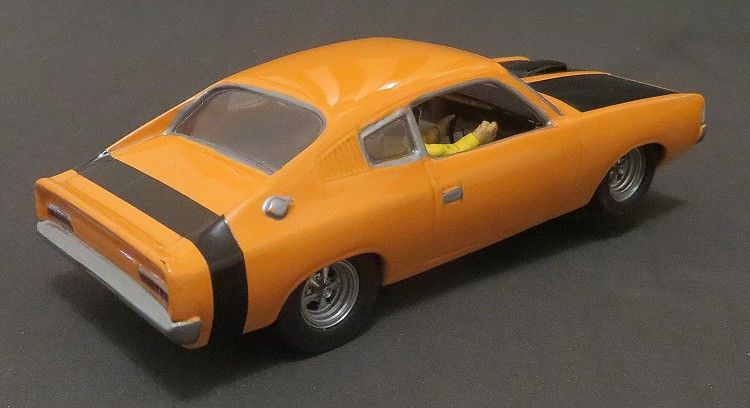
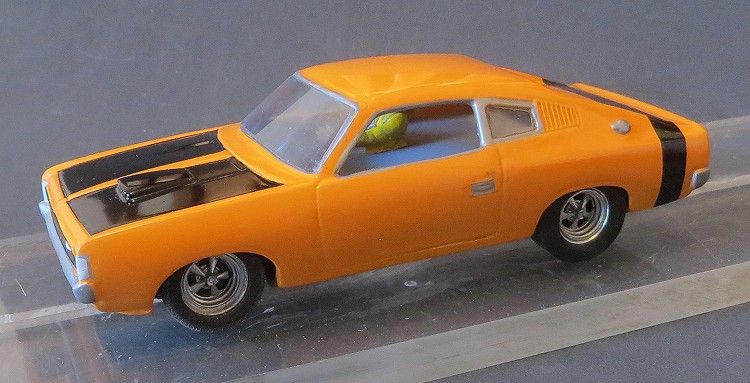
I settled for a nice bright yellow (almost orange) as it is very noticeable on the track and soon turns heads. I haven’t been faithful to the Charger colour schemes but have rather borrowed ideas from other sources. I appreciate that true R/T markings are a bit different to those I have used. Wheels also are six slot alloys but the inserts I have used look more the part.

Racing numbers? Not sure if Patto does a set these days as it is so hard to navigate his website. But a set of peel and stick numbers can be easily applied as and when the time comes.

So there we have it, another great model from MJK and certainly worth the effort of getting it to the track. So what have we next for Holden fans ??? Mmmmmmmmmm?
